Uncover the Art of Plant Propagation: From Leaf Cuttings to New Growth
By HeyHome • August 3, 2023

Introduction: Why Propagate Plants?
Have you ever admired your friend's lush snake plant or coveted the leafy green spider plants at the local nursery and wondered, "Can I grow these at home?" Well, plant propagation might be the key to unlocking your green thumb and expanding your indoor jungle.
Plant propagation, specifically houseplant propagation, allows you to multiply your favorite plants without having to constantly purchase new ones. This simple and natural process can result in new plants within a few weeks. From existing plants, you can nurture new roots, new growth, and new plants, making your living space livelier and greener than ever before.
So why should you propagate plants? Firstly, it's a cost-effective way to expand your houseplant collection. Secondly, it's an immensely satisfying hobby. Watching the roots form and new growth spring from plant cuttings gives a sense of accomplishment like no other. It's also an excellent opportunity to bond with your plants and understand them better.
Now, you may wonder if there's a difference between indoor plants and garden plants when it comes to propagation. In fact, indoor plant propagation, particularly with house plants, often has a higher success rate due to the controlled conditions. You can manage factors like light, temperature, and moisture, which might be harder to do in an outdoor setting.
In the following sections, we will guide you through the process of propagating plants. We will delve into the different methods of plant propagation like stem cuttings and leaf cuttings, share tips on nurturing new growth, and help you overcome common challenges. So let's embark on this exciting journey of creating your own plants, right in the comfort of your home.
Ready to propagate plants? Let's get started.
Join our newsletter
Stay on top of the latest in landscaping and lawn care with one valuable tip right in your inbox every Saturday morning.
Houseplant Propagation: A Step-by-Step Guide
Propagating your houseplants can seem like an intricate task, but with the right tools, materials, and understanding, you'll soon find that it's a fun and satisfying project. Let's break down the process into easy-to-follow steps, but before that, it's important to select the right houseplant for propagation.
Choosing the Right Houseplant for Propagation
Not all houseplants are ideal candidates for propagation. Some plants propagate easily, while others might pose a challenge. Factors to consider include the type of plant, its health, and the time of the year. Here's a detailed guide on selecting the perfect houseplants for propagation to help you make an informed decision.

When it comes to indoor plants, certain species such as spider plants, ZZ plants, and many types of succulents are generally easy to propagate. Be sure to choose a parent plant that is healthy and robust, as it significantly influences the success of the propagation process.
Necessary Tools and Materials for Propagation
After you've selected your ideal plant, gather your propagation tools. These are the essentials you'll need:
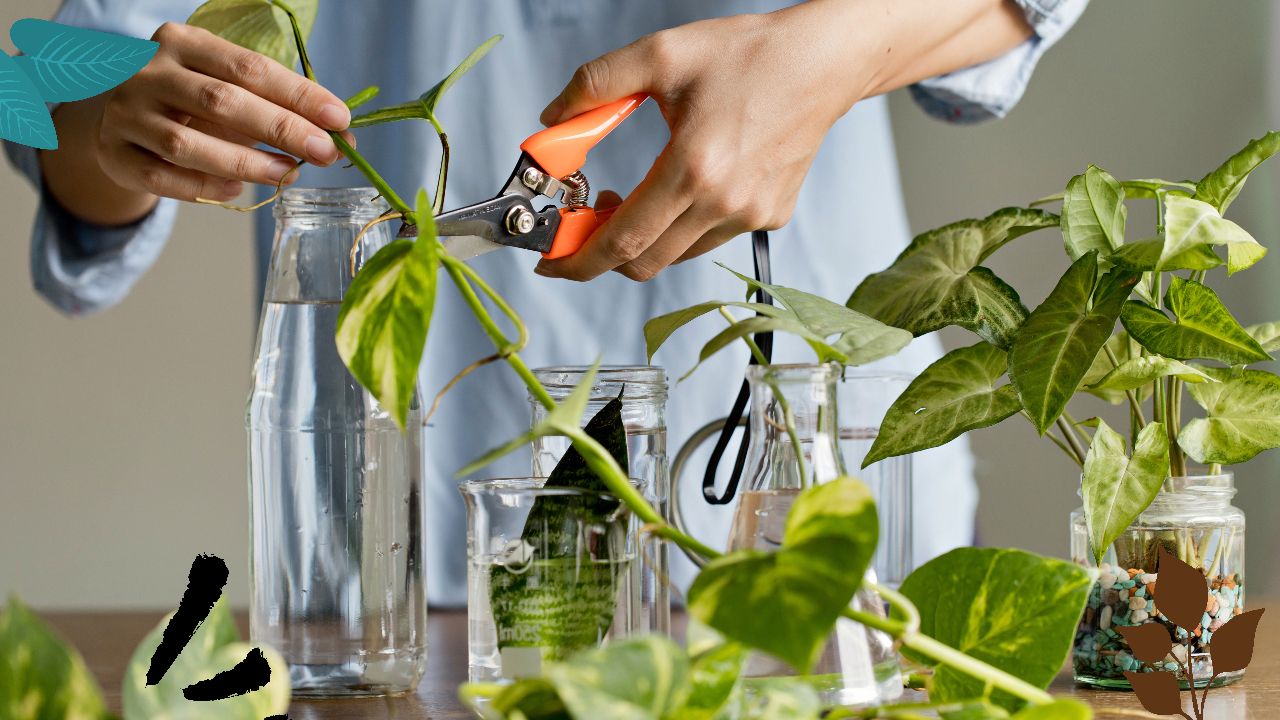
- Sharp Knife or Pruning Shears: A clean, sharp knife is crucial for making precise cuts during the cutting process. You want to ensure minimal damage to the main plant and the plant cutting.
- Potting Mix or Growing Medium: Different plants prefer different growing mediums. Some root best in a potting mix, while others might prefer water or a specific type of soil.
- Container: You can use small containers, glass containers, or even clear plastic bags for water propagation. Ensure your containers are clean and free of harmful bacteria that might hinder root growth.
- Rooting Hormone: While not always necessary, a rooting hormone can help stimulate root growth and increase the chances of successful plant propagation.
- Plastic Bag: For some propagation methods, you might need a plastic bag to create a mini-greenhouse effect, helping to keep the soil moist and the environment humid.
Remember, when dealing with plant cuttings, always handle with care. Be gentle as you press them into the growing medium and ensure they receive bright, indirect light for optimum growth. Patience is key in the propagation process. It might take a few weeks before you see new roots form, but the wait will definitely be worth it!
Join our newsletter
Stay ahead of the curve in all things outdoor.
Get the inside scoop on the latest landscaping, lawn care, and fencing trends with 1 actionable tip every Saturday morning.
As you move ahead in your plant propagation journey, remember that different types of plants might require variations in these steps. Propagating plants is as much an art as it is a science, and it gives you ample opportunity to learn, experiment, and grow. So let's put on our gardening gloves and get propagating!
Next, we dive into the different methods of propagation, such as stem cuttings and leaf cuttings, that you can explore in your home garden. Let's turn your home into a thriving indoor jungle!
Propagating Plants: Methods and Techniques
Plant propagation is a fascinating process, allowing you to grow new plants from existing ones. There are several methods to propagate plants, each suitable for different types of houseplants. To decide which method to use, you need to know your plant well and understand its growth habits. To learn more about gardening techniques, check our gardening blog. Let's look at some common propagation methods.
Stem Cuttings
Stem cutting is one of the most common methods of houseplant propagation. It involves removing a portion of the parent plant's stem and helping it grow into a new plant.
- Choose a healthy parent plant: Make sure the parent plant is robust and free of disease.
- Cut a section of stem: Using a clean, sharp knife or shears, cut a 4-6 inch section of stem. Ensure this section has at least a few leaves and one or two nodes (where leaves attach to the stem).
- Prepare the cutting: Remove leaves near the cut end. Dip the cut end into rooting hormone (optional but beneficial).
- Plant the cutting: Place the cutting into a small container filled with moist potting mix or your preferred growing medium. Ensure the node is buried in the soil.
Leaf Cuttings
Leaf cuttings are another popular method, particularly for plants where the leaves naturally root and produce new growth.
- Select a healthy leaf: From the parent plant, choose a healthy leaf. Cut it off with a sharp knife or scissors.
- Prepare the leaf: If you're propagating succulents, allow the cut surface to dry out for a few days before planting. For others, you can plant them immediately. You can also dip the cut end in rooting hormone.
- Plant the leaf: Plant the leaf in a potting mix, ensuring the cut end is beneath the soil surface.
For a more detailed guide on taking care of your indoor plants, refer to our Ultimate Guide to Indoor Plant Care.
Division
Division is a straightforward method used mainly for plants that grow in clumps. This involves separating the plant into two or more sections, each with its own root system, and replanting them.
- Remove the parent plant from its pot: Gently loosen the soil around the root ball and lift the plant out of the pot.
- Divide the plant: Using your hands or a clean, sharp knife, divide the plant at the root level into two or more sections.
- Replant the divisions: Plant each division in its own container with fresh potting mix.

Layering
Layering is a propagation method where a branch or stem of the existing plant is bent to the ground (or to a pot of soil) and covered with soil while still attached to the parent plant. After the branch has developed roots, it's severed from the parent plant and grown as a separate plant.
- Choose a healthy stem: Select a long, healthy stem on the parent plant.
- Prepare the stem: Make a small cut or wound on the stem's underside.
- Bury the stem: Bend the stem to the ground or a pot filled with soil. Secure the wounded part of the stem in the soil with a U-shaped stake.
- Wait for roots to develop: After new roots form at the wound site (which can take a few weeks), the new plant can be severed from the parent plant.
Remember, each plant is unique, and what works for one might not work for another. The joy of plant propagation is in the process of learning and experimenting to see what works best for your indoor jungle. Happy propagating!
Stem Cuttings: Your Gateway to New Plants
Stem cuttings are an effective and popular way to propagate plants. This method of houseplant propagation is particularly useful for indoor plants, as it allows you to create new plants from an existing parent plant. Let's dive into the process of using stem cuttings to propagate plants, step by step.
Choosing the Right Plant for Stem Cutting Propagation
When propagating plants, selecting the right type of plant is vital. Generally, plants that have non-woody stems are the best candidates for stem cuttings. Many houseplants like snake plants, ZZ plants, and spider plants propagate well from stem cuttings. However, many woody plants, garden plants, and certain types of indoor plants may not be ideal for stem cutting propagation.
Step-by-Step Guide to Stem Cuttings
Now that you've selected your parent plant, you're ready to begin the process of propagating new plants. Here's a step-by-step guide on how to use stem cuttings for plant propagation:
- Prepare Your Materials: You'll need a sharp knife or pruners, a small container with drainage holes, potting mix or another growing medium, and rooting hormone (optional, but can significantly boost root growth).
- Identify Your Cutting: Look for healthy, disease-free growth on your parent plant. It's best to select a section of stem that's at least 4-6 inches long and has several leaves.
- Make the Cut: With your sharp knife, cut the stem at a 45-degree angle. This increases the cutting's surface area and facilitates better water intake and root growth.
- Prepare the Cutting: Remove the lower leaves, leaving just a few at the top of the cutting. Dip the cut end into rooting hormone, shaking off any excess.
- Plant Your Cutting: Fill your small container with moist potting mix and make a hole for the cutting. Insert the cutting, ensuring that it's deep enough for at least one node to be covered by the potting mix. Gently press the soil around the stem to secure it.
- Care for Your Cutting: Place your newly potted cutting in a location with bright, indirect light. Keep the soil moist but avoid overwatering as it can lead to root rot.
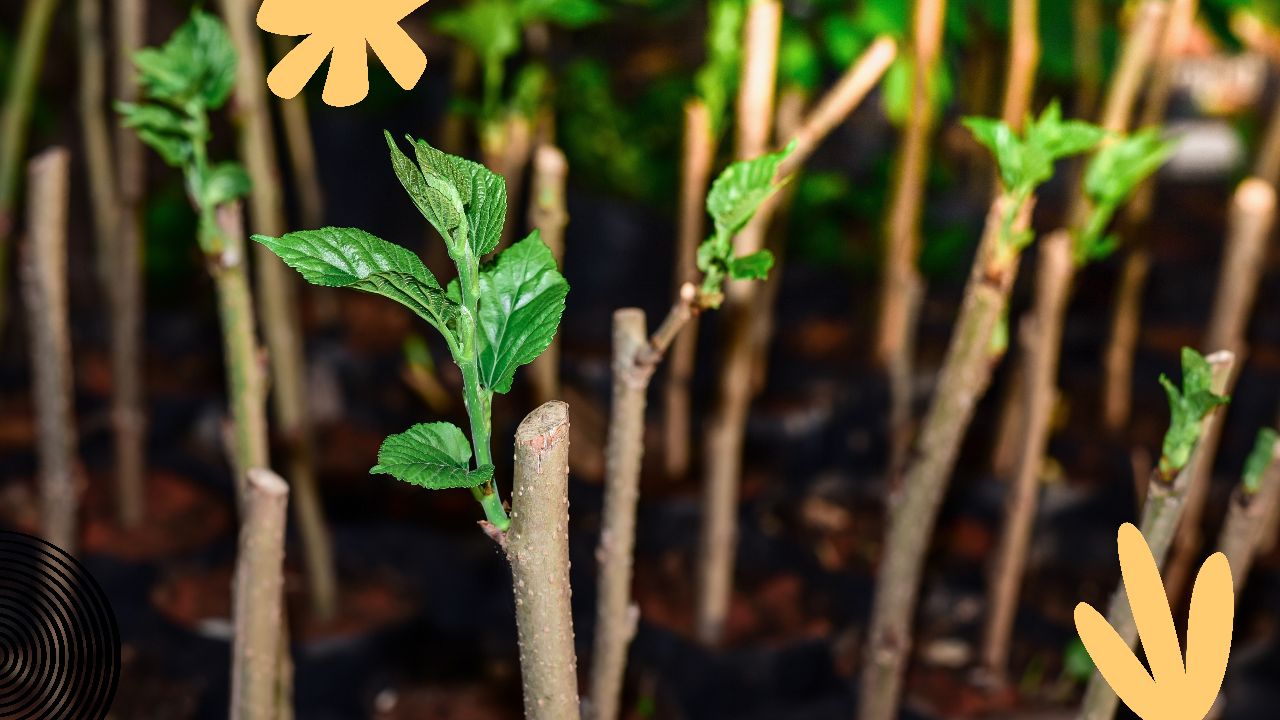
- Wait for Root Development: In a few weeks, your cutting should start to develop new roots. You'll know this process is underway when you see new growth on the cutting.

Propagating plants through stem cuttings is a rewarding process, allowing you to create more plants from a single parent plant. It's a cost-effective and gratifying way to expand your indoor garden.
For more tips on plant propagation and other houseplant care topics, check our guide on how to combat common houseplant pests.
Leaf Cuttings: Unlocking the Potential of Every Leaf
Leaf cuttings offer another fantastic way to propagate plants, particularly those with fleshy leaves. This method allows every leaf to unlock the potential to become a new plant. Here, we'll guide you through the leaf cutting process and help you identify suitable plants for leaf cutting propagation.
Identifying Plants for Leaf Cutting Propagation
Just like stem cuttings, not every type of plant is suitable for propagation through leaf cuttings. Generally, many houseplants and succulents propagate well through this method. For example, ZZ plants and many types of succulents can readily grow roots and new plants from just a single leaf. Do some research to ensure that your specific plant is suitable for this propagation method.
Detailed Guide to Leaf Cuttings
Ready to propagate your own plants using leaf cuttings? Follow this detailed guide:
- Materials Preparation: As with stem cuttings, you'll need a sharp knife or pruners, a small container with drainage holes, a potting mix, and optionally, rooting hormone.
- Leaf Selection: Choose a healthy leaf from your parent plant. It should be mature, but not old or yellowing. Gently remove it from the main plant, making sure to include some of the stem or petiole if possible.
- Leaf Preparation: For larger leaves, you can cut them into sections, each with a main vein. Make sure your cuts are clean to avoid infection.
- Rooting Hormone Application: This is optional, but can boost root growth. If you choose to use it, dip the cut end of the leaf or the cut surface into the hormone, removing any excess.
- Planting the Leaf Cutting: Fill your small container with moist potting mix and plant the leaf cutting, ensuring the cut end is in contact with the soil. For leaves cut into sections, lay them flat on the soil surface, cut side down.
- Caring for Your Leaf Cutting: Place your potted leaf cutting in a spot with bright, indirect light and maintain a humid environment if possible. A clear plastic bag over the container can help maintain humidity. Keep the soil moist, but avoid overwatering to prevent root rot.
- Patience is Key: It may take a few weeks to see new roots and growth, but the wait is worthwhile. Once you notice new plants sprouting from the leaf cutting, you can celebrate your propagation success!
Leaf cutting is a unique way of houseplant propagation. With a little patience and the right care, each leaf holds the potential to be a new plant. To explore more about plant care and propagation, visit our detailed guide on Ming Aralia care.
Post-Propagation Care: Nurturing Your New Growth
Congratulations! You have successfully begun to propagate your plants. But your journey doesn't end with seeing roots form or new plants sprout. Nurturing new growth into a thriving plant requires care and patience. From tending to your new roots to managing common houseplant care challenges such as root rot, this section provides vital tips on nurturing your propagated plants.

Caring for Propagated Plants
A propagated plant, whether from stem or leaf cuttings, requires specific attention until it is well-established. Here's a simple guide to assist you in nurturing your propagated plants:
- Environment: Keep your new plants in a location with bright indirect light. Direct sunlight can dry out the young plants too quickly.
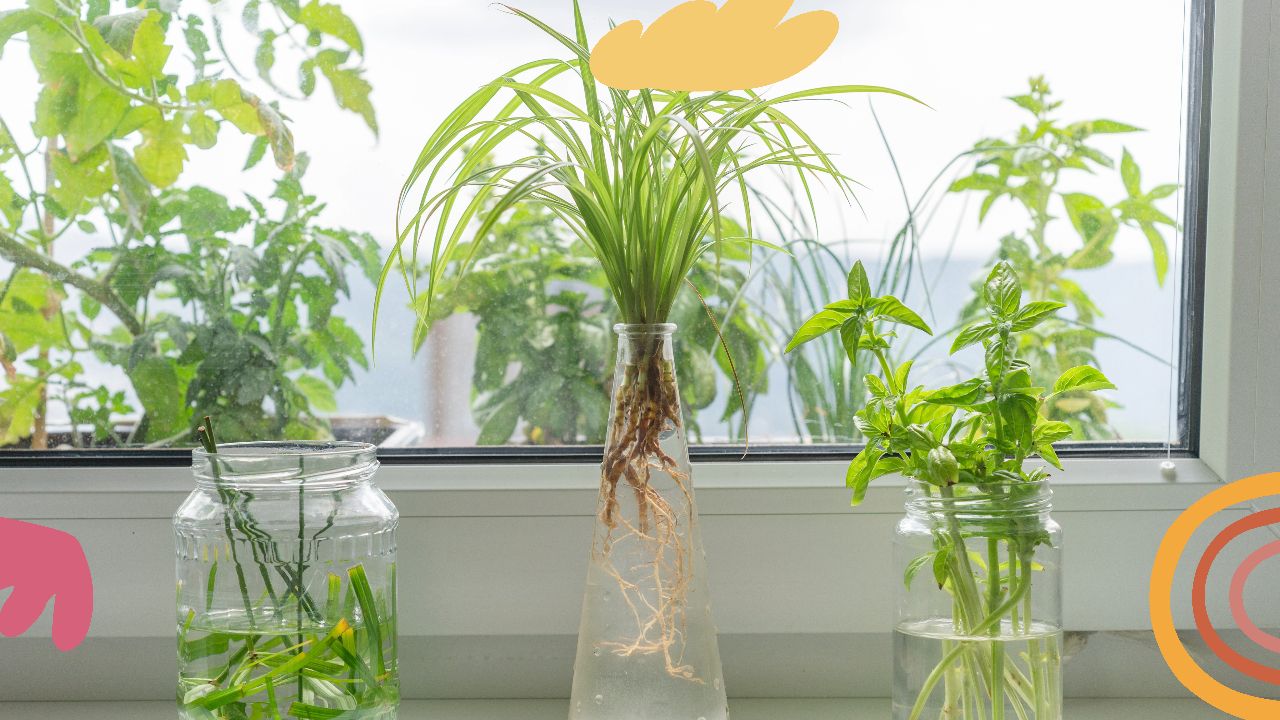
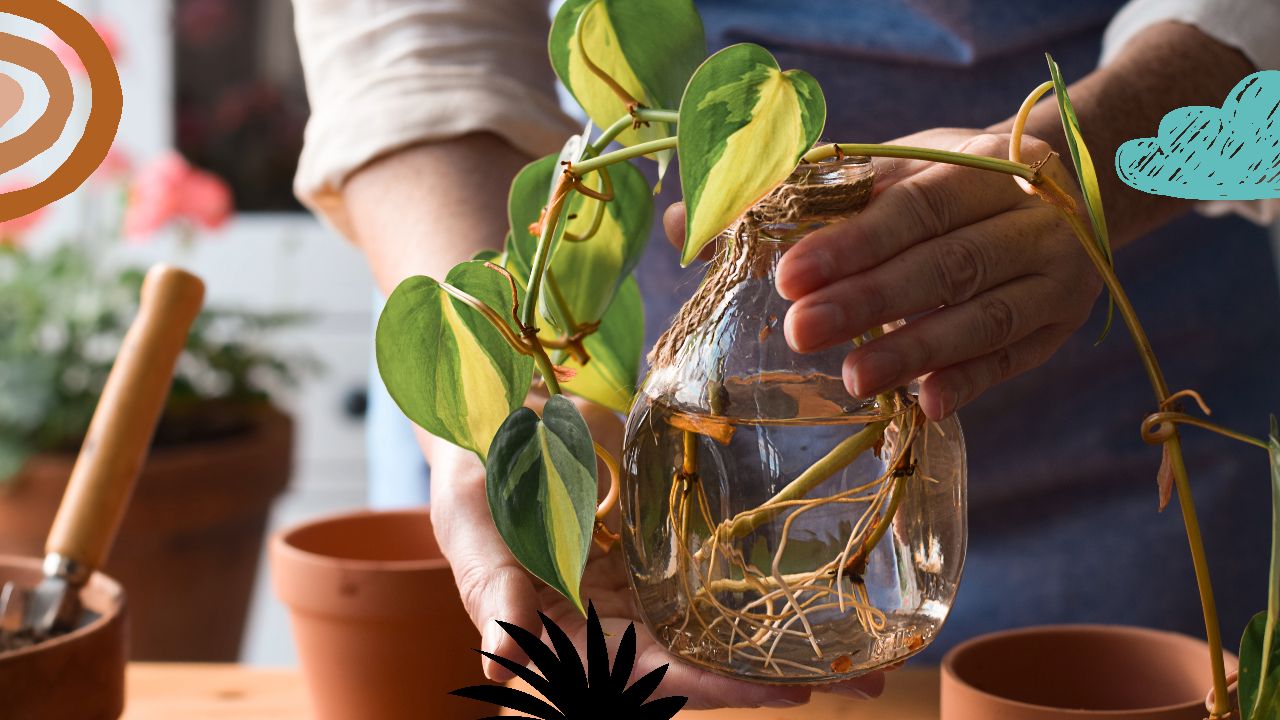
- Watering: The goal is to keep the soil moist, but not overly wet. Water propagation is great for initial root growth, but once your new plant is in soil, be careful to avoid overwatering.
- Roots Form to New Growth: After your roots form, you'll begin to see new growth. This is a crucial stage where the plant needs consistent moisture and nutrients. Consider a balanced liquid fertilizer at this stage, but dilute it more than you would for an established plant.
- Repotting: Once the new plant's root system has developed sufficiently, and it begins to outgrow its small container, repot it into a larger one. But, be careful! This process can be stressful for the plant. Make sure to be gentle when handling the root ball and place the plant at the same depth as it was in the original pot.
Addressing Common Challenges in Houseplant Care
Nurturing new plants is rewarding, but it also comes with its share of challenges. Two common issues are root rot and dealing with excess hormone:
- Root Rot: Overwatering can lead to root rot, which can be fatal to your new plants. If the plant's leaves turn yellow or wilt, and the roots are mushy and smell foul, it's likely root rot. If this occurs, remove the affected roots and repot the plant into fresh, well-draining soil. Going forward, make sure to water less frequently.
- Excess Hormone: Using a rooting hormone can speed up the propagation process, but too much of it can hinder the plant's growth. If you notice slow growth or other signs of stress, like leaf drop, try skipping the rooting hormone and see if the plant improves.
Remember, the key to successful propagation and plant care is patience. Each plant has its own growth rhythm, so don't be discouraged if your new growth takes a while to show. For more detailed information about caring for your propagated plants, you can check our guide on Mastering Monstera Dubia Care. With these tips, you are now fully prepared to propagate and nurture your new plants from cuttings to mature houseplants. Happy propagating!
Conclusion: The Joys and Benefits of Plant Propagation
You've learned the tools, techniques, and tender care necessary for successful houseplant propagation. It's a process of patience and precision, but the rewards of seeing a cutting sprout new growth are immense. Beyond the aesthetic pleasure and personal satisfaction, propagation has broader benefits that extend to our environment. By propagating your own plants, you're contributing to biodiversity and reducing the demand on commercial nurseries.
The process of propagation doesn't just yield new plants. It cultivates knowledge, experience, and a deeper connection with the natural world. Each plant holds its unique propagation requirements, challenges to overcome, and satisfaction to reap. This continual learning and the joy of cultivating your own plants make the journey of propagation a deeply rewarding experience.
Just as your plants will grow and thrive, so too will your knowledge and skill in propagation. We encourage you to keep experimenting, learning, and most importantly, enjoying the process. Refer back to the HeyHome Blog as you continue on your propagation journey. There, you'll find resources for specific plants and additional propagation methods, providing you with an abundant source of information to support your green thumb adventures. And remember, the art of propagation is a dance between nature and nurture. It's an invitation to tune into the subtle language of plants, to engage with them in a way that is both nurturing and deeply respectful.
Embrace the process, for the joy of plant propagation is not just in the destination - your new, thriving plants - but also in the journey of growth and learning. Happy propagating!
Join our newsletter
Stay ahead of the curve in all things outdoor.
Get the inside scoop on the latest landscaping, lawn care, and fencing trends with 1 actionable tip every Saturday morning.