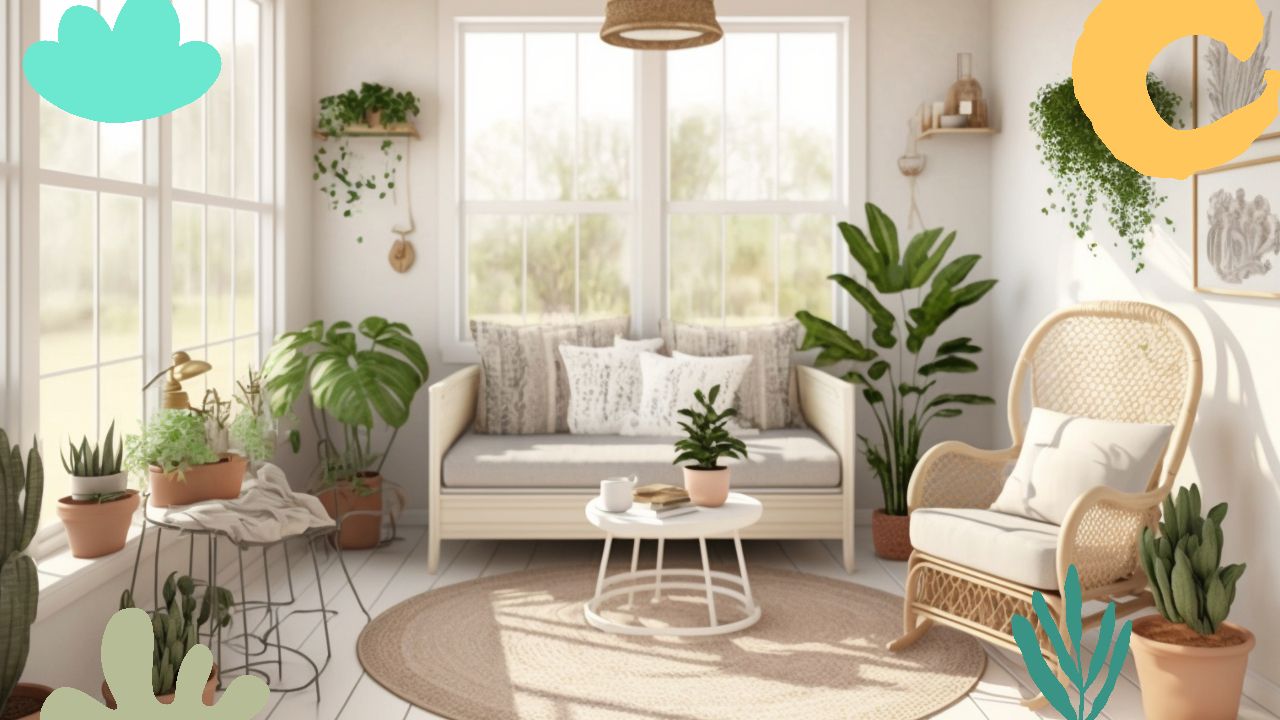
When it comes to timeless charm, few home improvement projects can rival the classic appeal of a board and batten wall. Originating from early home constructions that depended on the raw beauty of wood, the board and batten design has found its way from exterior sidings to the heart of modern interior design.
The rise in the popularity of DIY board and batten wall projects is no mere accident. As homeowners dive deeper into the world of DIY, they've discovered the simple elegance of this style. It offers an affordable transformation that brings warmth, depth, and a touch of rusticity. More than just a way to cover a wall, this design has become synonymous with creating an accent wall that's both functional and aesthetically appealing.
But what truly cements its place in the hearts of many is its transformative power. Even in the most modern spaces, a batten wall stands as a testament to blending the old with the new. It's a statement, a nod to timeless design, and a celebration of DIY spirit. Whether it's the linear elegance of vertical boards or the meticulous spacing that evokes perfection, board and batten is more than just wood on a wall; it's art.
Now, if you're eager to embark on this DIY journey and embrace the transformative power of board and batten, you're in for a treat. Dive in, and let's explore the allure, techniques, and tricks behind this cherished design.
Join our newsletter
Stay on top of the latest in landscaping and lawn care with one valuable tip right in your inbox every Saturday morning.
Materials Needed: Gearing Up for Your Board and Batten Project
Embarking on a DIY board and batten journey is thrilling, but ensuring you have all the right tools and materials beforehand is crucial. Here's a rundown of the essentials you'll need to get started:
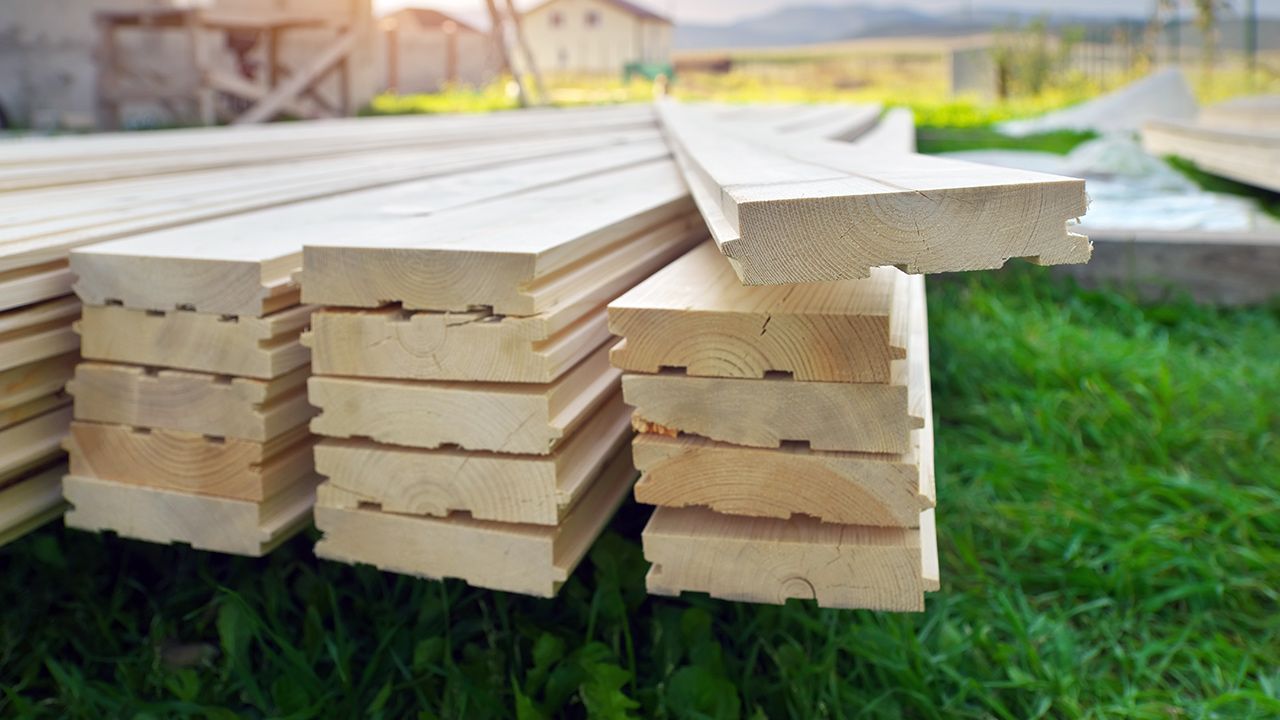
The Essentials: From Pre-Primed Boards to Brad Nails
- Pre-primed boards: Starting with pre-primed boards not only saves time but ensures a smooth and consistent finish for your batten wall.
- Brad nails: These are perfect for securing your boards in place, especially when working on interior walls. Paired with a reliable brad nailer, this duo ensures a clean finish without oversized nail holes.
- Wood filler: Perfect for filling in any nail holes or imperfections to achieve a sleek surface.
- Pine boards: A favorite among DIY enthusiasts, these offer a durable and aesthetically appealing base for your board and batten project.
- Sand paper: Essential for smoothing out any rough edges on your boards or wall.
The Role of Liquid Nails in Ensuring a Sturdy Batten Wall
Liquid nails (or construction adhesive) play a pivotal role in ensuring your battens are securely attached. It offers an additional layer of bonding, ensuring your boards stay put, especially on textured walls or places where nails might not offer enough support.
Why Your Utility Knife and Miter Saw Will be Your Best Friends
- Utility knife: This versatile tool will come in handy for trimming any boards, scraping off excess adhesive, and ensuring that your battens fit perfectly against door trim or existing baseboards.
- Miter saw: Precision is key in a board and batten project, and a miter saw ensures that every cut is sharp, clean, and at the exact angle you need. From adjusting board lengths to crafting the perfect angles where vertical boards meet, this tool is indispensable.
By gearing up with these essential tools and materials, you're setting yourself up for a successful and satisfying DIY board and batten wall project. Let the transformation begin!
Preparation: Setting the Stage for Your Batten and Board Installation
A successful batten and board project is as much about what you do before installing as the actual installation. The foundation you lay is critical. So, where should you begin?
The Crucial First Step: Wall Preparation
Before diving into the fun part of putting up your board and batten wall, it's vital to make sure your wall is clean and free of any imperfections.
- Cleaning: Start by wiping down the entire wall with a damp cloth to remove any dirt or dust. This ensures that adhesive or paint adheres smoothly.
- Repair: Check for any holes, dents, or scratches on your wall. Using wood filler or spackle, patch up any imperfections and sand smooth. This guarantees a seamless finish.
Addressing Textured Walls: Challenges and Solutions
Textured walls can present unique challenges when installing board and batten. The uneven surface might make it tricky for boards to adhere uniformly.
- Solution: Consider sanding down excessively rough patches to create a slightly more even surface. If that's not an option, using a combination of construction adhesive (like liquid nails) with brad nails can provide extra security to ensure boards stay in place.
Removing Existing Baseboards: Why and How
Existing baseboards can interfere with the clean lines of a batten wall.
- Why: Removing them allows your vertical boards to reach the floor, ensuring a cohesive look.
- How: Using a utility knife, score along the top edge of the baseboard. Then, with a pry bar or scraper, gently lift the baseboard away from the wall. Make sure to keep it intact in case you wish to reuse or repurpose it.
With your wall primed and ready, you're set to embark on your batten and board installation with confidence!
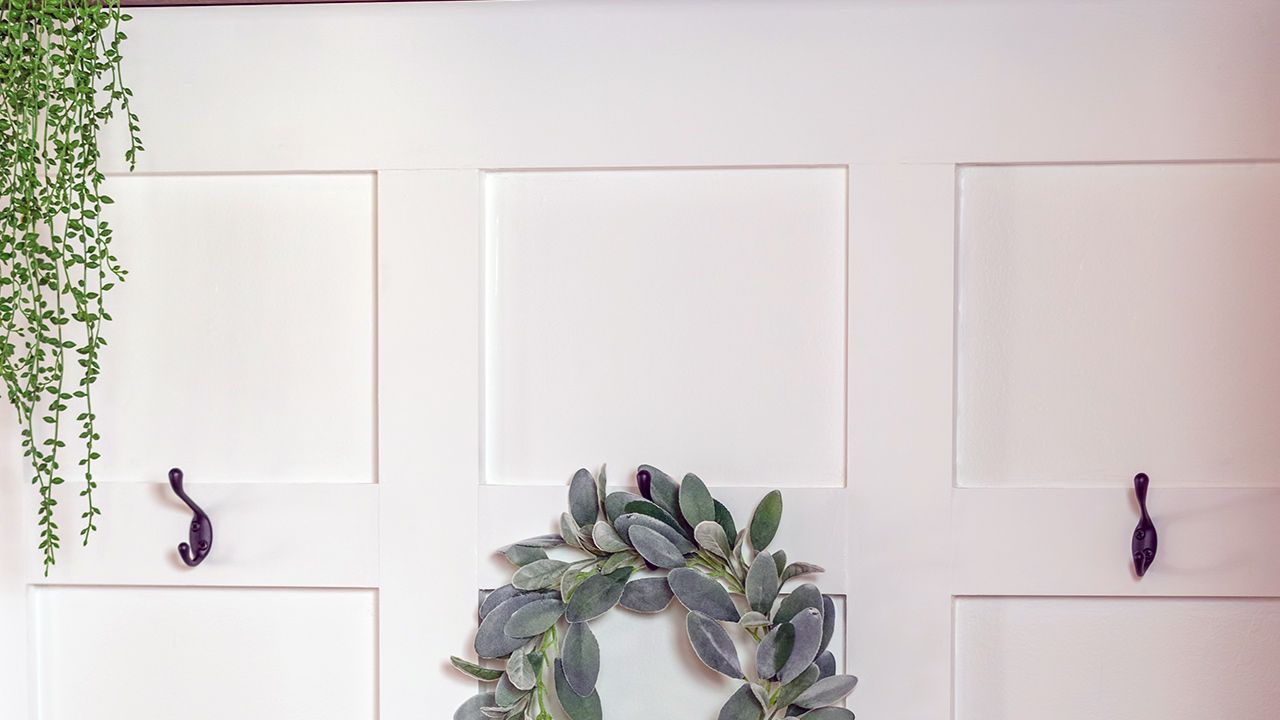
Step-by-Step Guide: Crafting Your Board and Batten Wall
The allure of a board and batten wall stems not just from its classic aesthetic appeal but also from its transformative ability to add depth and character to any room. Creating this masterpiece is no herculean task; follow this comprehensive guide to witness the magic unfold right before your eyes.
Step 1: Blueprinting Your Batten Wall
Blueprinting is the first step towards ensuring your DIY board and batten project goes off without a hitch.
- Measuring and Planning: Measure the wall length and decide how many battens you'd want. The art of batten spacing is vital – space them evenly for a uniform look.
- Tools & Tips: Use a level to ensure your markings are perfectly straight. This can make or break the symmetry of your finished wall.
Step 2: Laying the Foundation with Horizontal Boards
Your horizontal boards serve as the foundational skeleton of your board and batten accent wall.
- Significance of the Top Horizontal Board: This board is crucial as it sets the tone for the entire wall. Make sure it's aligned with precision using a level.
- Installation: Attach the top and bottom horizontal boards to the wall using a combination of construction adhesive and brad nails. This ensures they stay put and bear the weight of the vertical boards.
Step 3: Vertical Boards - The Heart of Your Board and Batten Wall
These boards give your wall its defining characteristic.
- Placement & Spacing: Properly space the vertical boards, ensuring they meet the top and bottom boards seamlessly. Each board should be perfectly straight. Use spacer boards or scrap wood to maintain consistent batten placements.
- Attaching the Boards: Use liquid nails or another construction adhesive to stick each vertical board to the wall. Reinforce with brad nails for added security.
Join our newsletter
Stay ahead of the curve in all things outdoor.
Get the inside scoop on the latest landscaping, lawn care, and fencing trends with 1 actionable tip every Saturday morning.

Step 4: Nail Holes & Wood Filler - Finishing Touches
A well-done batten wall is as much about the details as the bigger picture.
- Hide Those Nails: Once all boards are secured, fill in the nail holes with wood filler. This ensures the aesthetics of a batten wall with no visible nails. Once dry, sand down any excess for a smooth finish.
Step 5: The Final Flourish: Caulking and Painting
Turn your assemblage of boards into a cohesive masterpiece.
- Caulking: Using paintable caulk and a caulk gun, seal the gaps where the boards meet the wall. This gives a finished look and ensures no gaps are visible.
- Painting: Once the caulk is dry, paint your DIY board and batten accent wall in your desired shade. The transformation is complete!
Tips and Tricks: Mastering Your DIY Board and Batten Installation
Embarking on a DIY board and batten journey is both exhilarating and challenging. Even if you follow a guide to the T, the unique nature of every wall and room can present its own set of hurdles. But fret not! We've curated a list of expert tips and tricks to ensure your board and batten walls stand out in all their splendor.
Ensuring Your Batten Walls Are Straight: A Guide to Perfection
The essence of a board and batten wall is its symmetry and straight lines. Here's how you can ensure they're flawless:
- Use a Level, Always: Never rely solely on the naked eye. Always use a level when placing both horizontal and vertical boards to ensure they're perfectly straight.
- Consistent Spacing: Use a spacer board or any piece of scrap wood as a guide to maintain uniform batten placements throughout.
Working with Textured vs. Flat Walls: Key Differences
The nature of your wall can greatly impact the installation process.
- Textured Walls: The ridges and bumps on textured walls can make it slightly different to adhere boards securely. Consider lightly sanding the wall or using thicker battens to mitigate the texture's effect.
- Flat Walls: These are ideal for board and batten installations. With a smooth surface, boards stick easily and seamlessly with the help of construction adhesive.
The Role of Construction Adhesives When Wall Studs Aren't Aligned
Sometimes, the wall studs won't align with your desired batten placements. Here's where construction adhesive steps in:
- Strong Bond: Quality construction adhesives, like liquid nails, can provide a sturdy bond between the board and the wall, even when nails can't penetrate a stud.
- Flexibility: Adhesives allow you more freedom in batten placement, ensuring your design isn't compromised by irregular stud spacing.
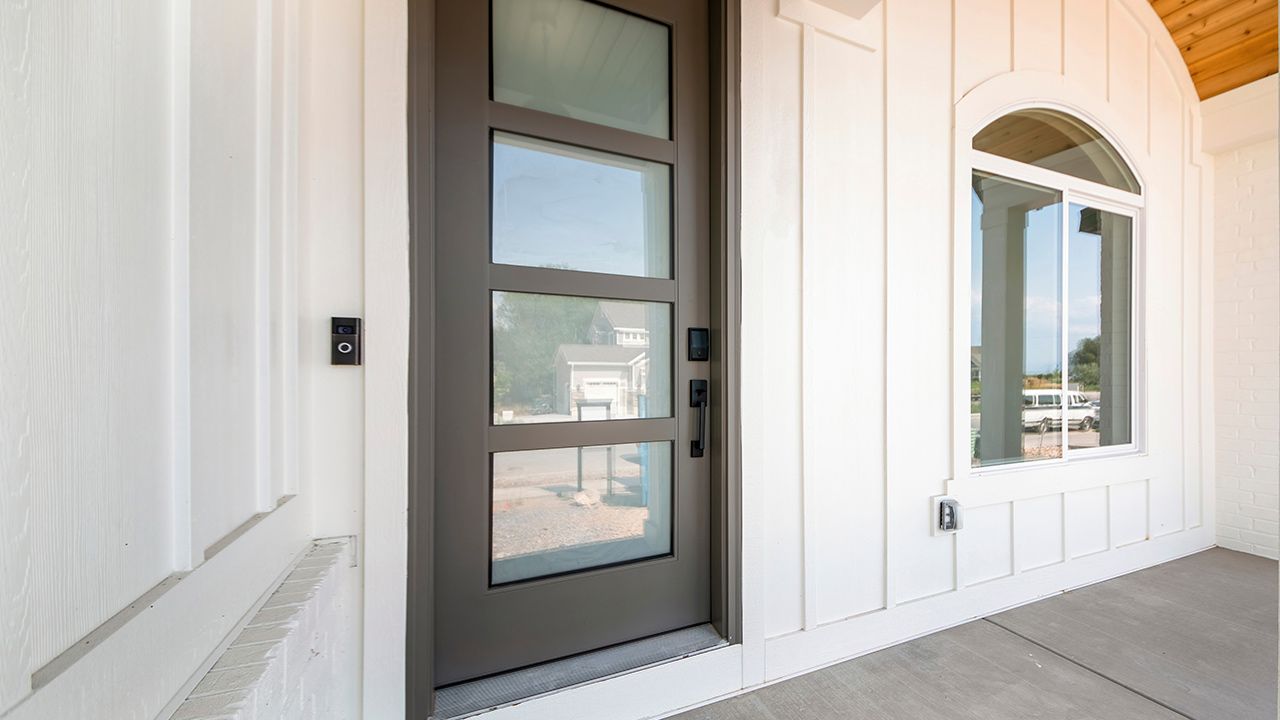
Navigating Challenges: Door Trim, Existing Baseboards, and More
Every installation comes with its unique challenges. Here are some common ones and how to navigate them:
- Door Trim: When your batten wall is adjacent to a door, it's crucial that vertical boards don't overlap with door trim. Measure and cut the boards accordingly.
- Existing Baseboards: Rather than removing them, you can notch out a section of your vertical board to fit above the baseboard, maintaining the design's continuity.
- Electrical Outlets: Remember to turn off electricity and remove faceplates when working around outlets. Cut boards to fit around these areas or use extender rings to bring the outlet flush with the new board and batten wall.

Reveling in the Beauty of Your DIY Board and Batten Wall
The beauty of a board and batten wall is its timelessness. It's a design that spans generations, effortlessly blending traditional craftsmanship with modern aesthetics. As homeowners, the prospect of infusing our spaces with such a classic look is alluring, and for good reason. It's not just about putting boards on walls; it's about adding character, depth, and a distinctive charm that feels both cozy and grand.
Embracing DIY projects like these allows us to deeply connect with our homes. Every measurement taken, every board nailed, and every paint stroke is a testament to our vision and our ability to breathe life into spaces. The transformative power of the board and batten accent wall is undeniable. Whether you're looking to elevate a cozy bedroom or add a statement to your living room, the addition of a board and batten wall makes it a space of interest, a conversation starter.
Moreover, there's immense satisfaction in standing back and beholding a wall you've crafted. It's not just a wall—it's a story of patience, precision, and passion. The elegance of the classic board and batten is proof that some designs never fade but only grow more cherished with time.
For those who've journeyed with us through this guide, we hope you're inspired to roll up your sleeves and delve into more DIY adventures. Remember, every project you undertake adds a layer to your home's story, and there's no greater joy than being its author.
Join our newsletter
Stay ahead of the curve in all things outdoor.
Get the inside scoop on the latest landscaping, lawn care, and fencing trends with 1 actionable tip every Saturday morning.